
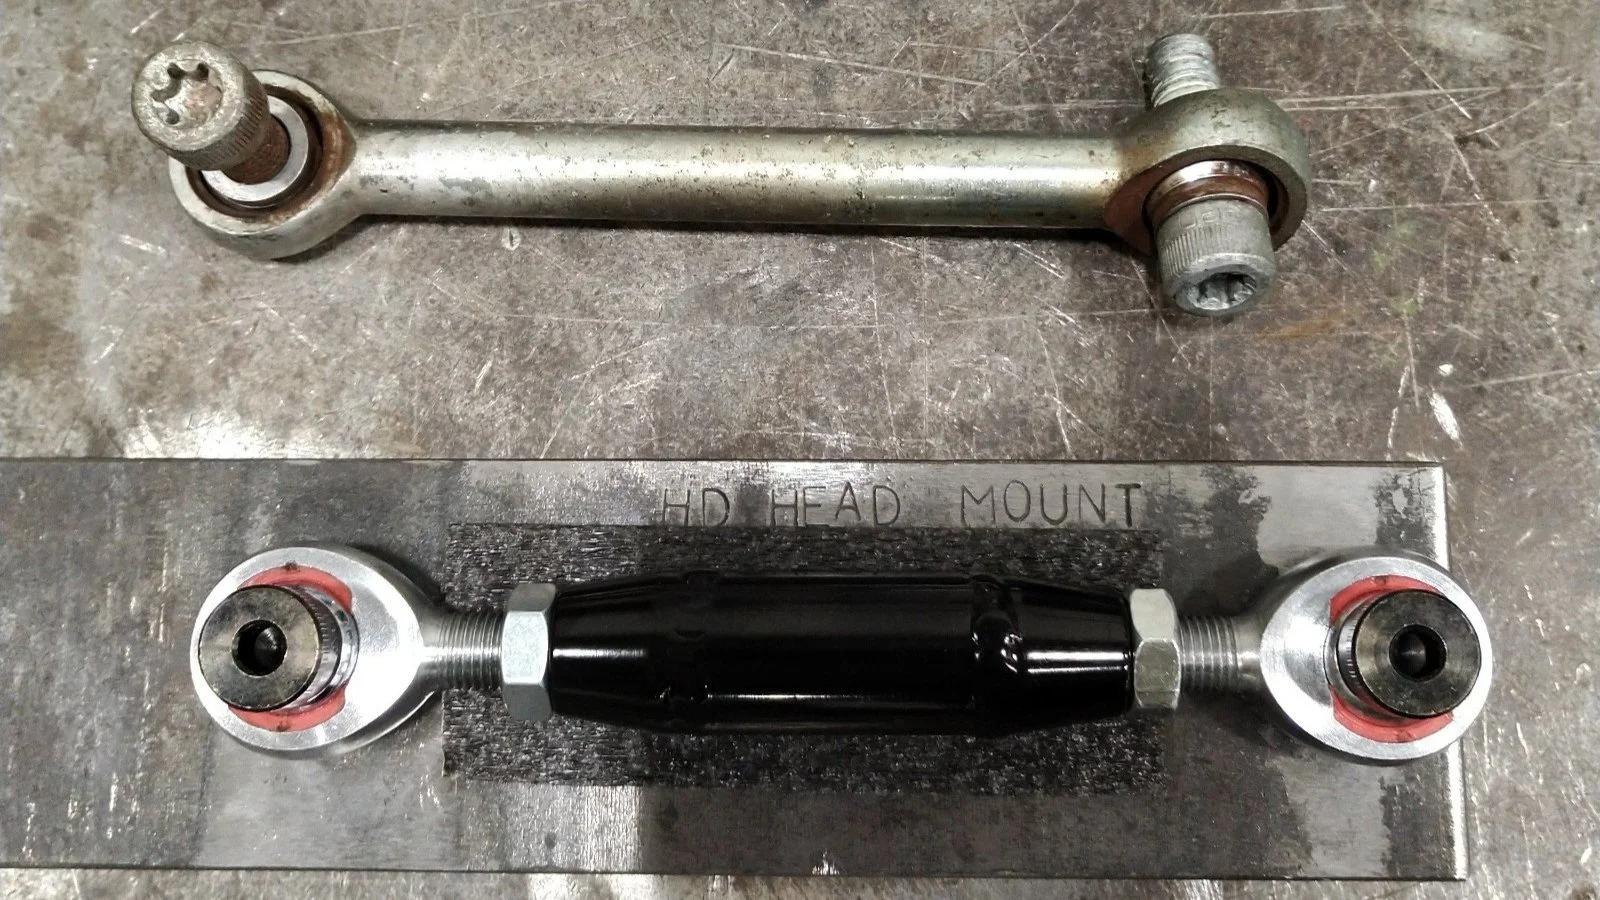
Comparison of our Adjustable Stabilizer (BOTTOM) vs OEM (TOP)
Thank you for your purchase!
We truly appreciate your support!
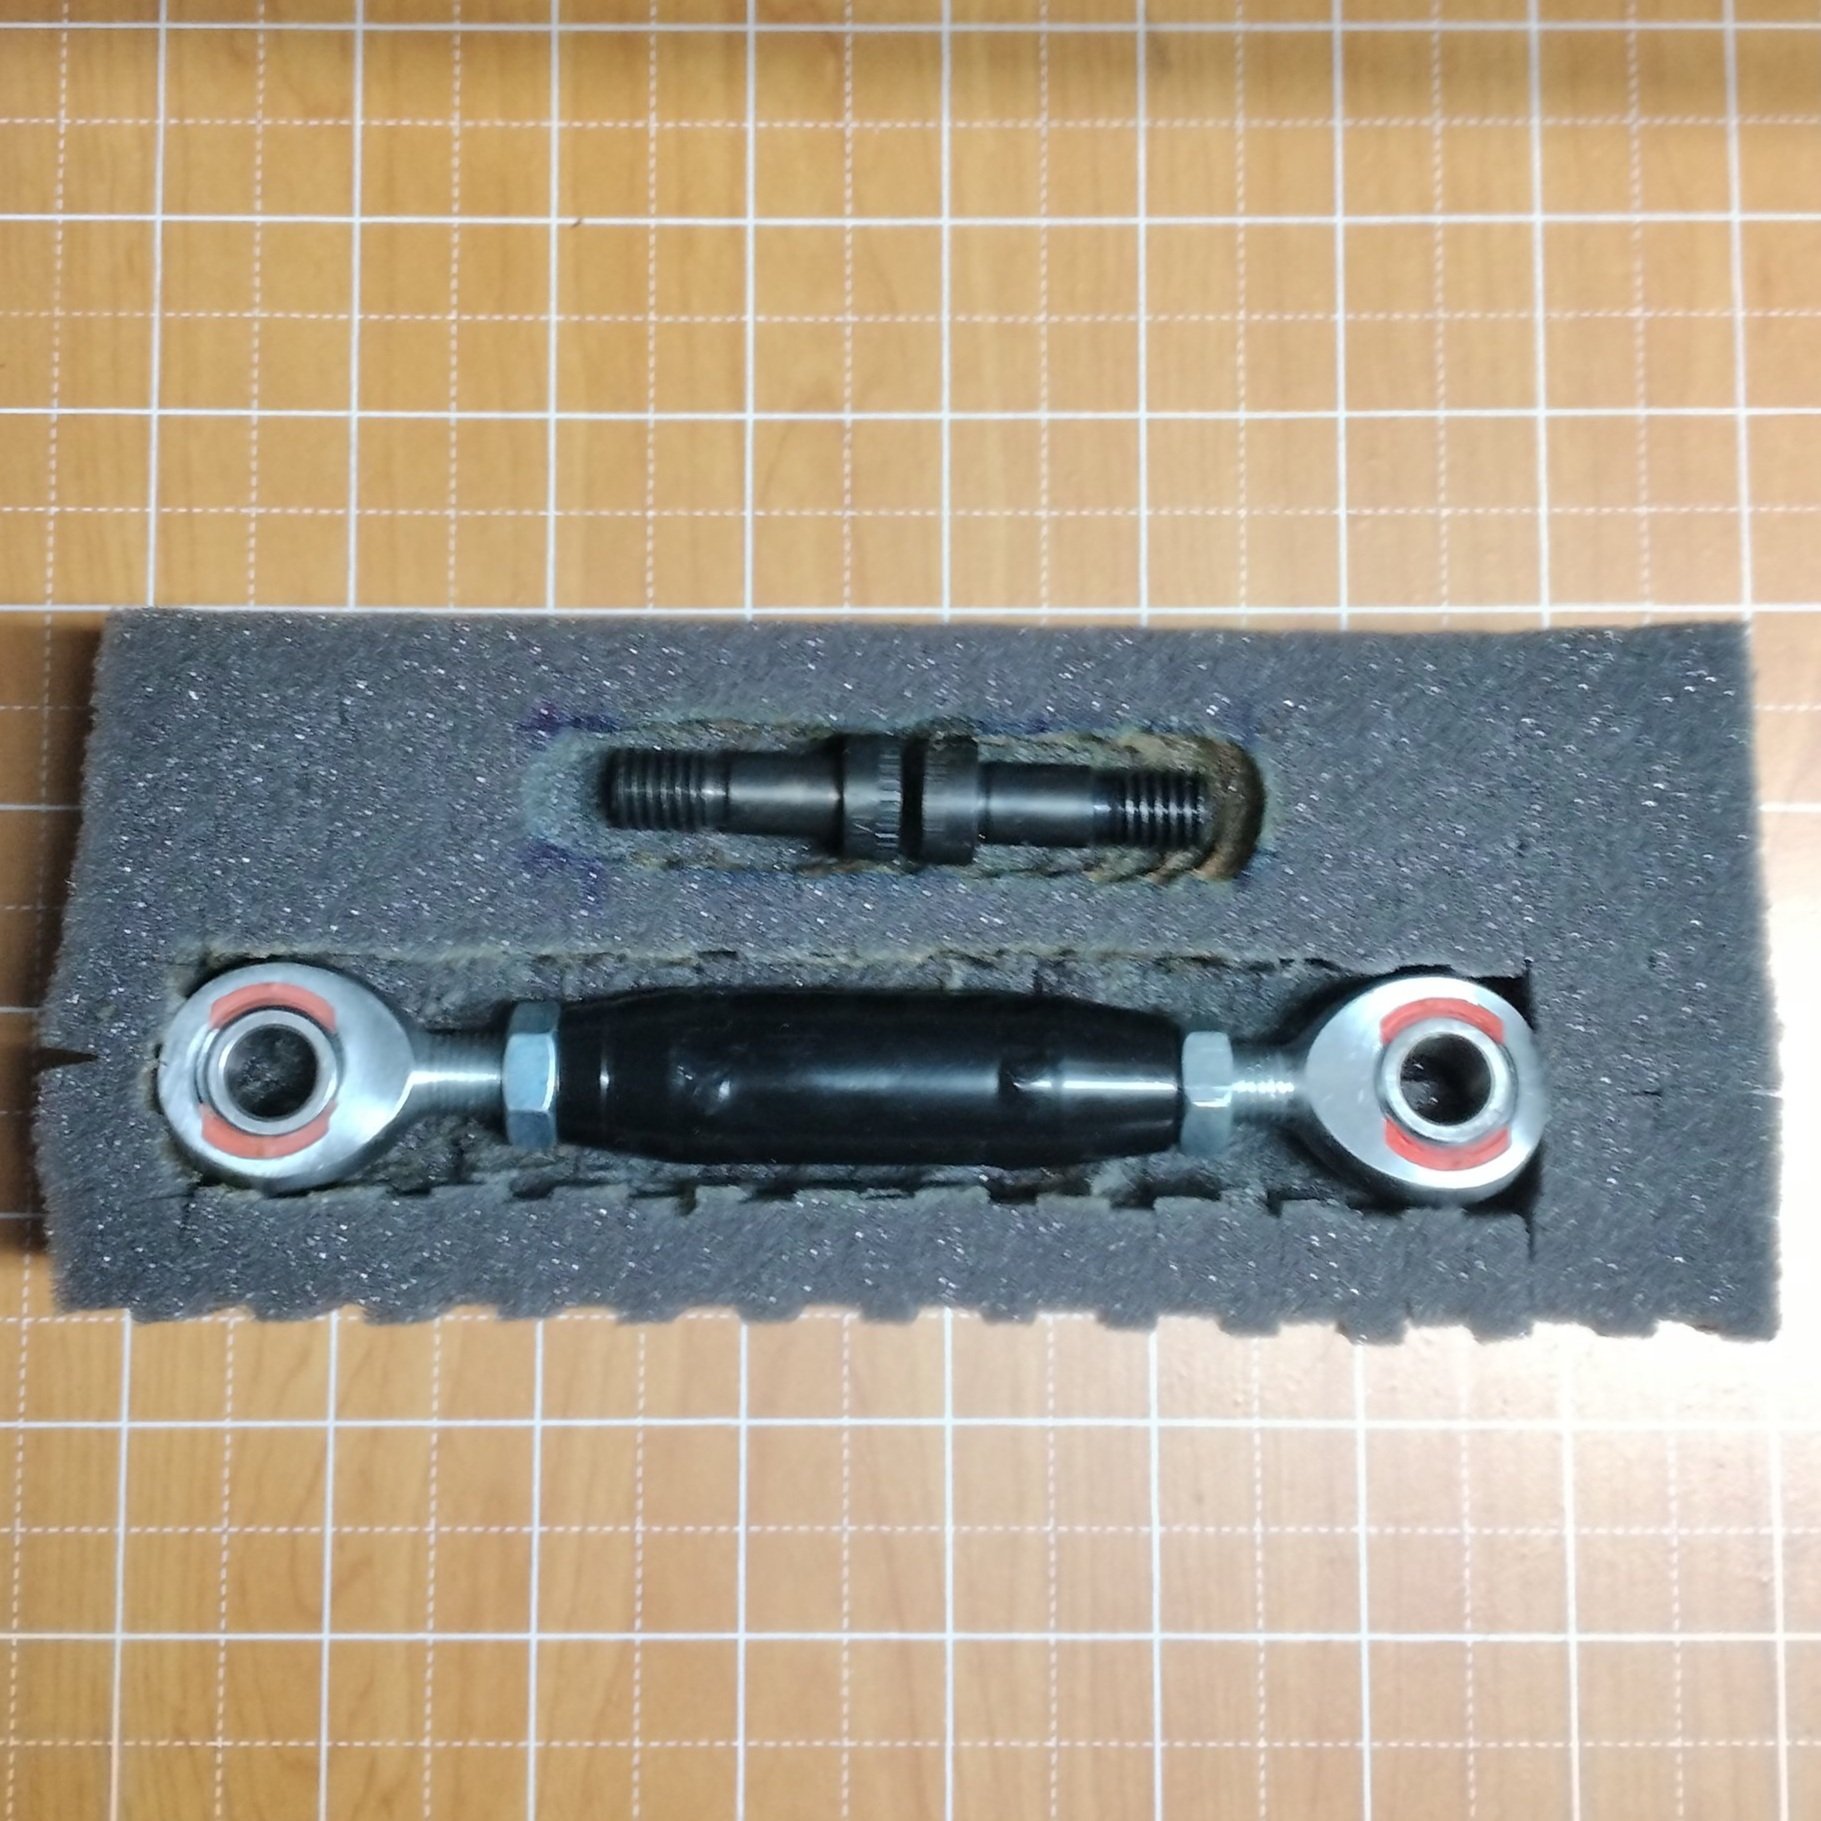
Our Adjustable Stabilizer Mounts are a direct bolt-on and ready for installation.
Please take a look through our install guide to help answer any questions you may have. This guide contains install suggestions & tips.
This page is best viewed on in a desktop version. The desktop version has detailed photo descriptions.
We hope you enjoy this part as much as we enjoy making it.
Proudly Hand Made in the U.S.A.
You can also check out our “Install How-To” video on YouTube - Adjustable Stabilizer Install How-To Video

Installation
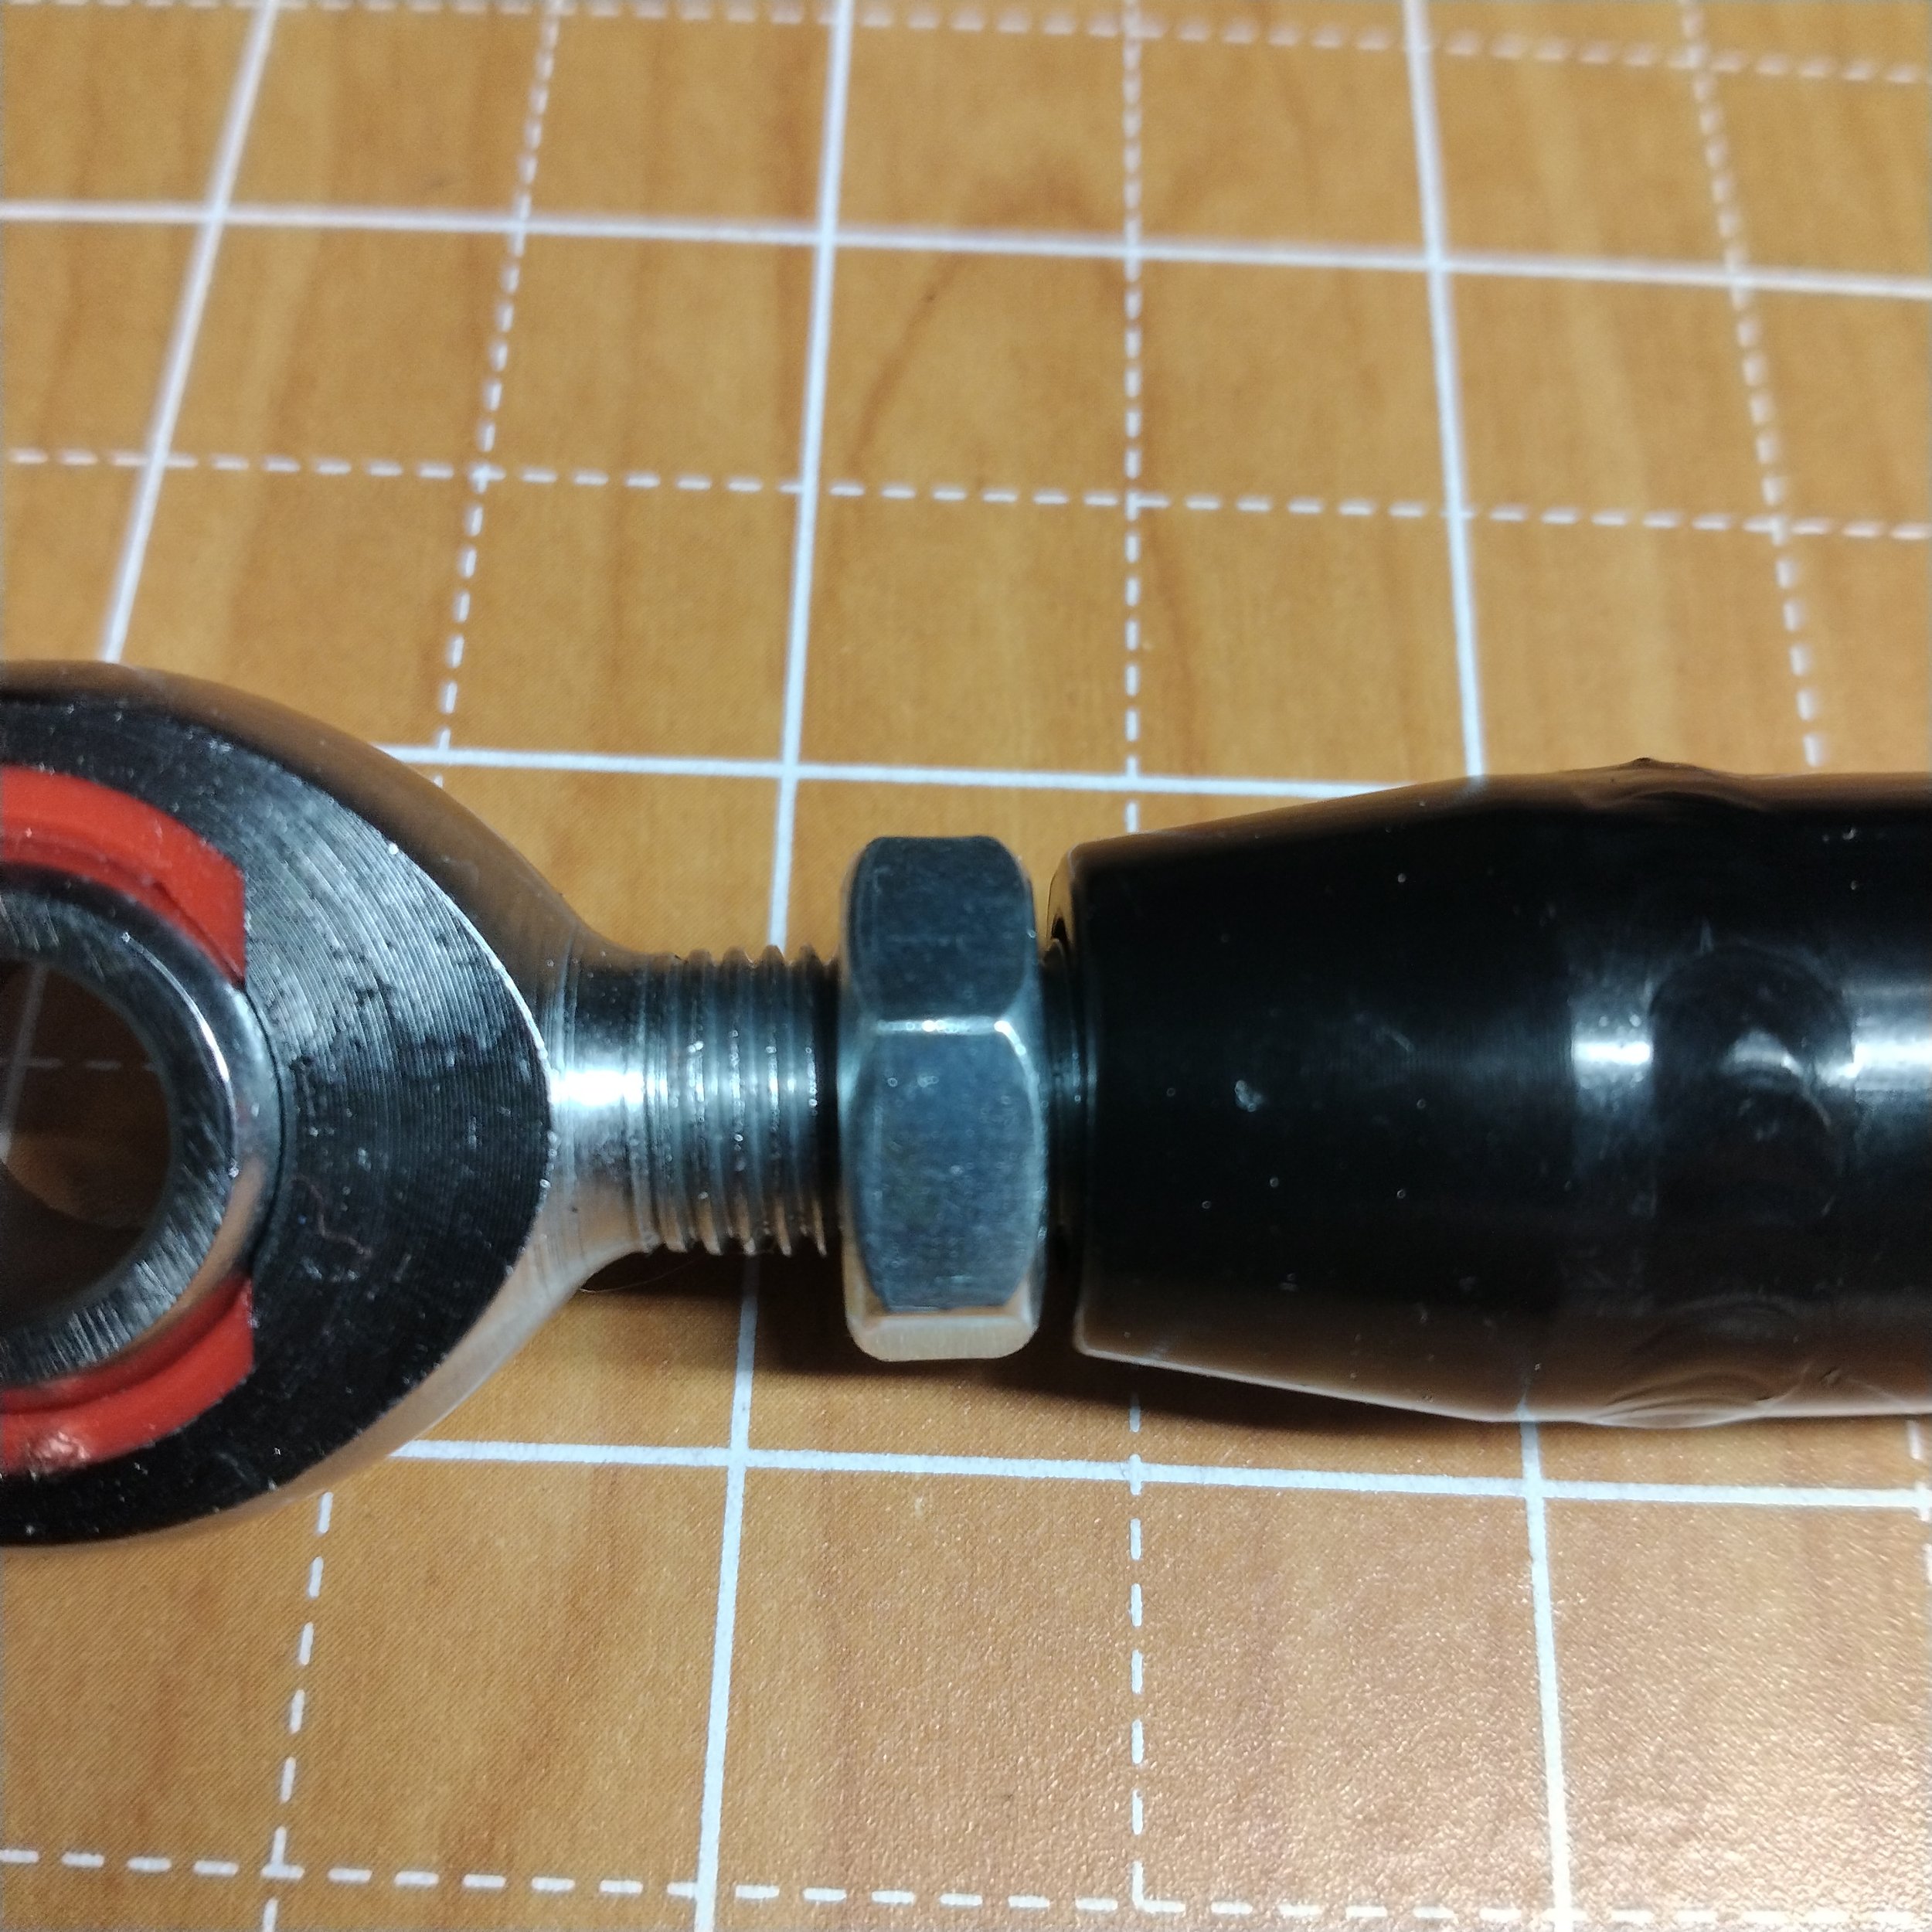
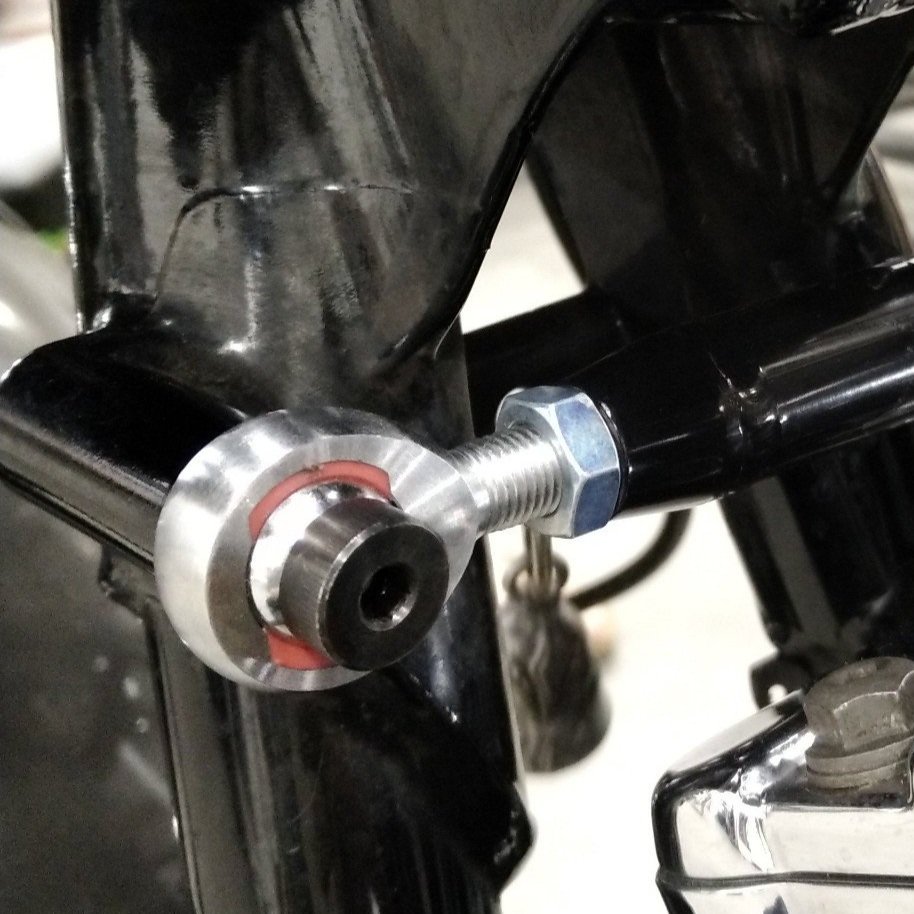
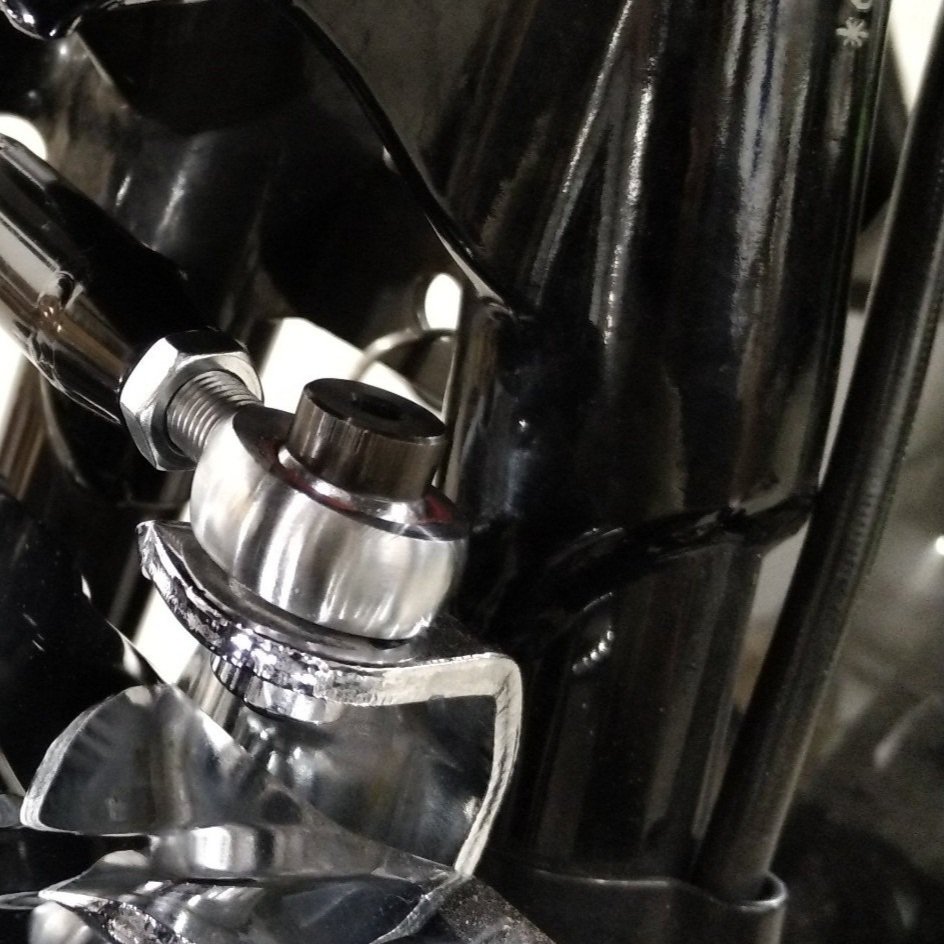
The left hand jam nut is pre-tightened. Install this end on the Engine (Intake) side with one (1) new shoulder bolt.
Rotate the opposite end to line up with the Frame (Primary) side.
Install the last shoulder bolt.
Torque shoulder bolts to factory specs. (18-22 ft lbs.)
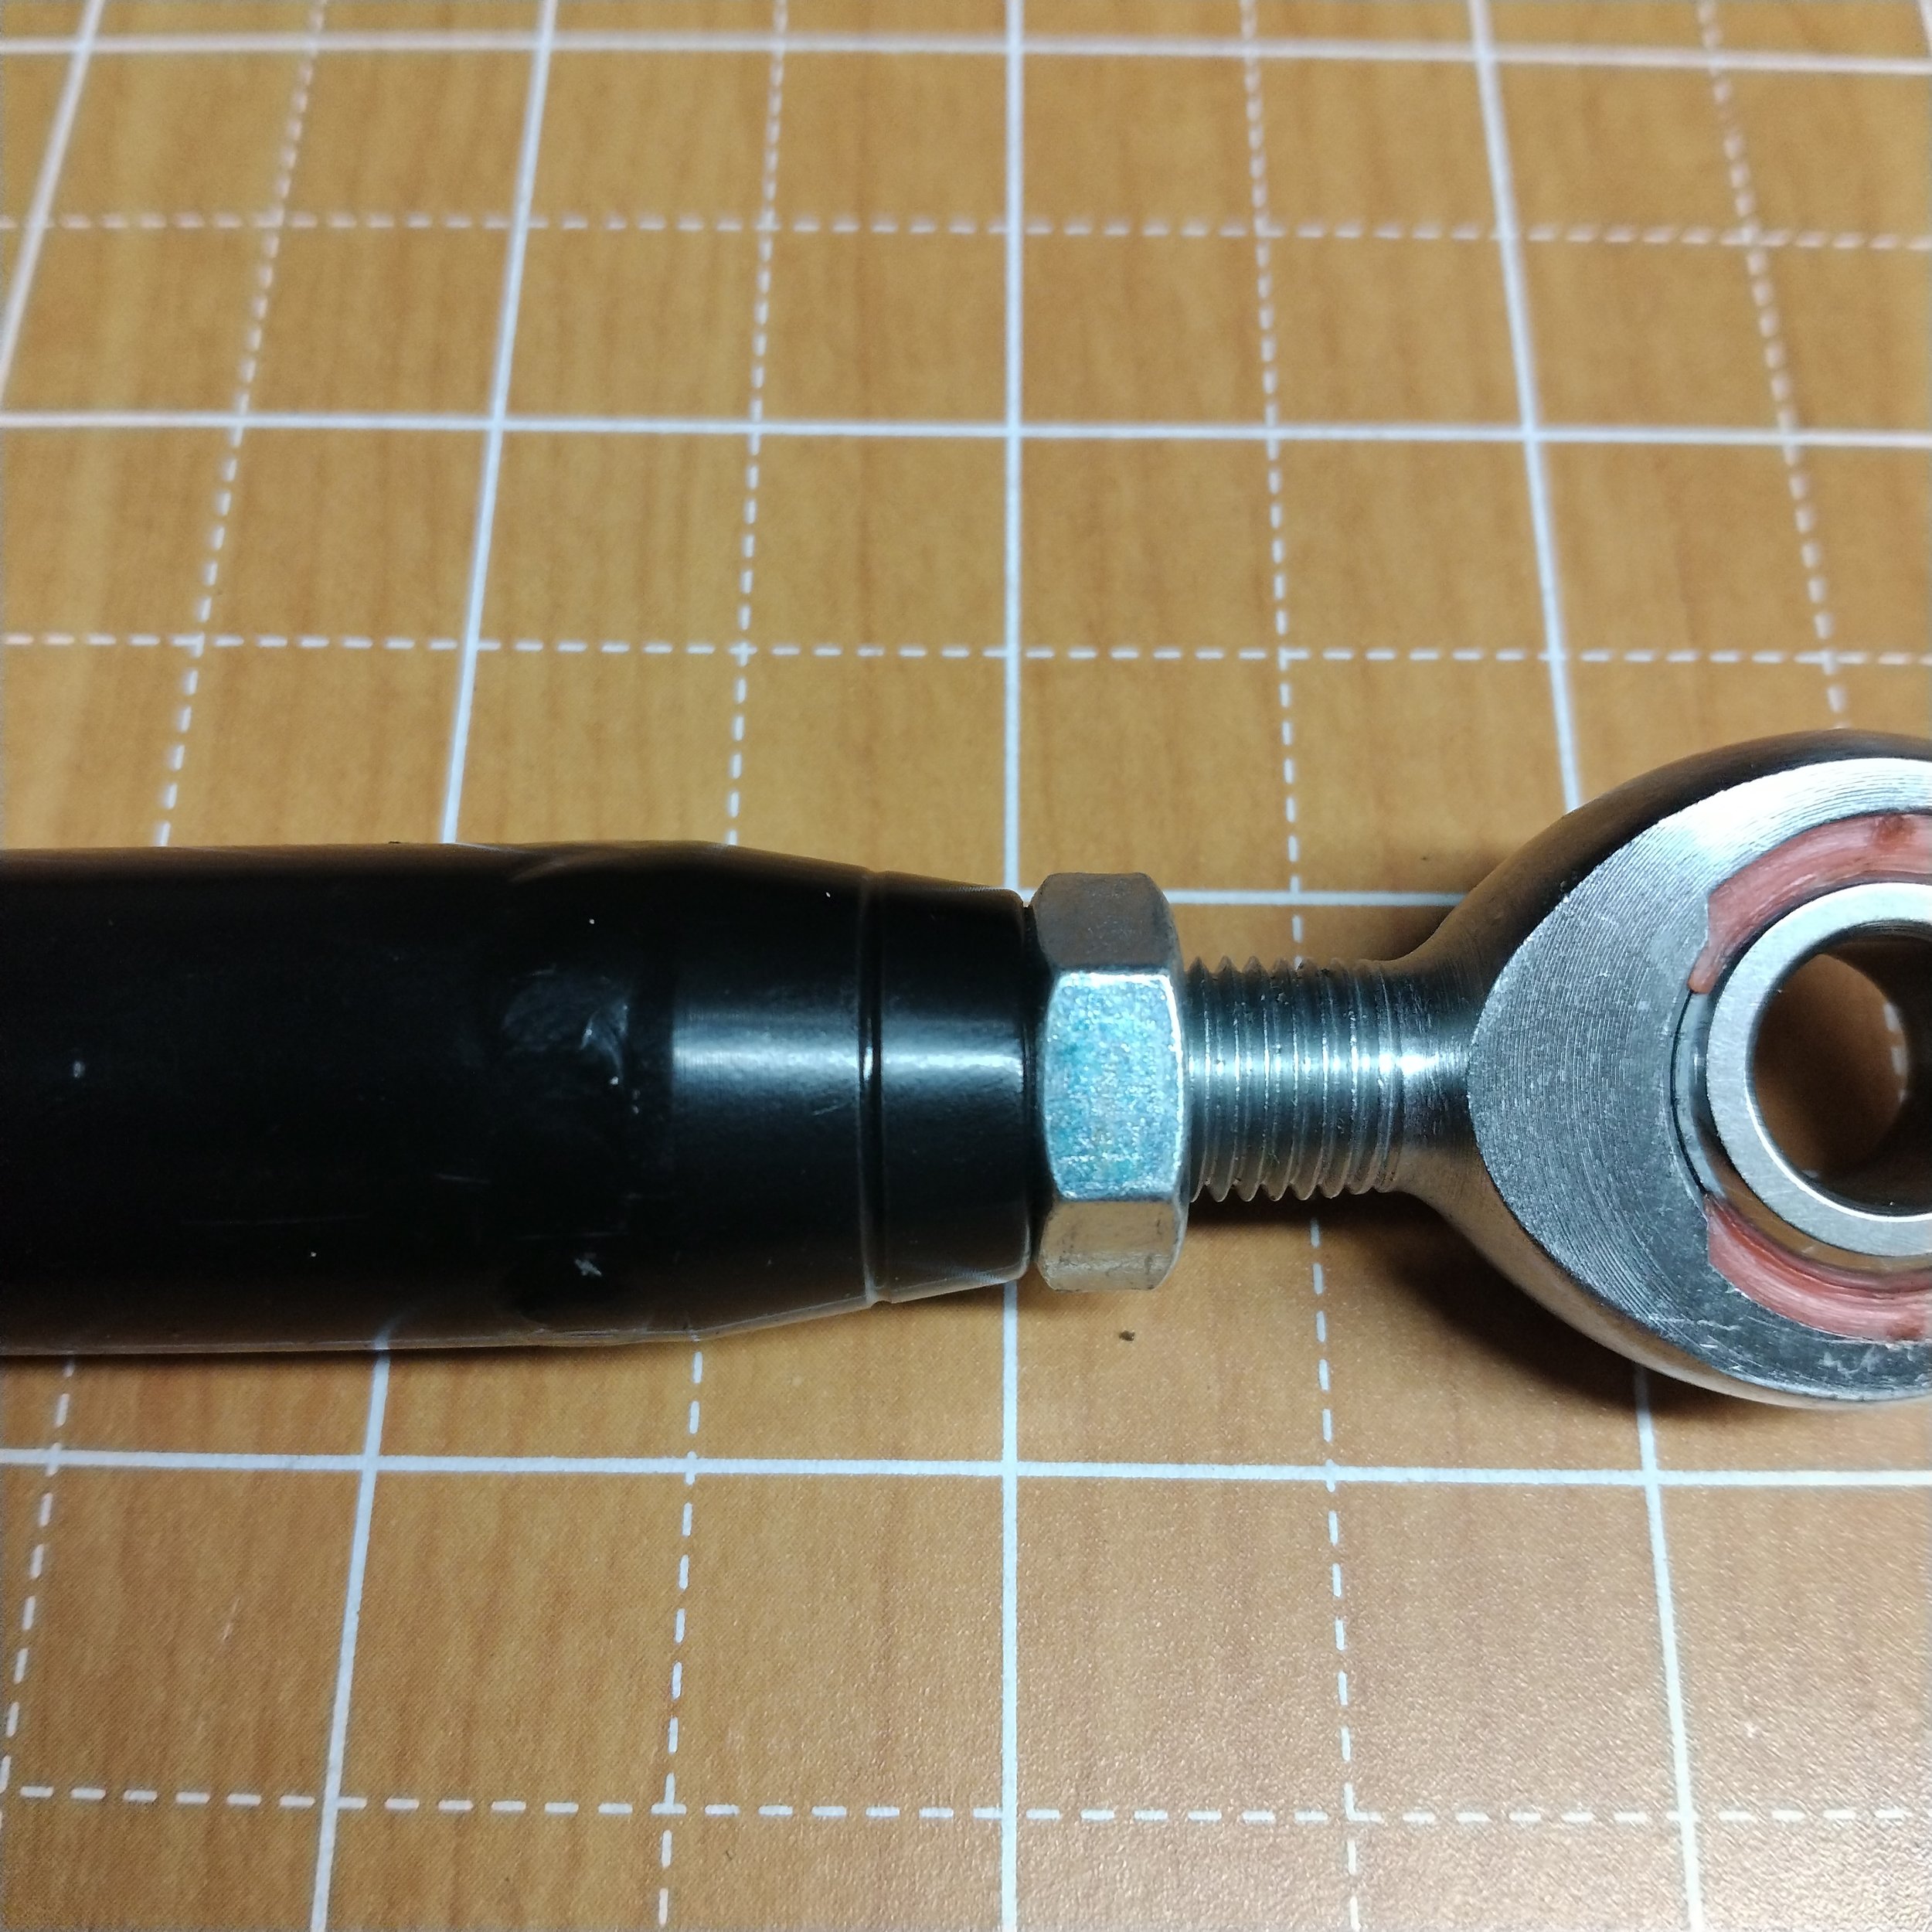
Tighten Frame (Primary) side jam nut.
Stand back and admire your new stabilizer.
Suggestions & Cautions
Be careful not to snap the factory bolts when removing.
The engine may shift some upon removal of OEM stabilizer. This is normal. You may need to adjust the engine some to mount the new stabilizer. DO NOT ADJUST STABILIZER TO FIT
Our part is preset to factory late model Twin Cam Touring factory length. (5.000” center to center of holes)
Always verify hardware fitment prior to installation.
WE HIGHLY RECOMMEND LUBRICATING ROD ENDS AFTER USING ANY DEGREASERS, HEAVY WASHES, OR HEAVY RAIN RIDES. WE USE A PENETRATING LUBRICANT.
DO NOT USE WD40 AS A LUBRICANT. WD40 IS NOT A LUBRICANT AND WILL STRIP ALL LUBRICATING PROPERTIES FROM THE ROD ENDS! USING WD40 WILL VOID ANY IMPLIED WARRANTIES OR GUARANTEES
Any adjustments should be directly followed by a driveline angle verification.
Recommendations & Tips
We highly recommend using Loctite on hardware. Any version of the Red Loctite will work. Failure to use Loctite will void any implied warranties or guarantees.
Having the bike standing up straight, or vertical (90*) is highly recommended. This will make installation and adjustments, if necessary, 100x easier and more accurate.
We recommend measuring OEM part length (center to center of holes) prior to installation of our stabilizer.
Verify driveline angles with angle gauges or indicators.
Regular “bolt checks” should be performed to ensure both shoulder bolt and jam nut torque.